Set up Membrick with OpenClaw
Connect Membrick to an OpenClaw project so your agents can use useful information from earlier work. Membrick can bring relevant memories into a run and save outcomes for later.
1. Install Membrick
On macOS or Linux, install the latest release with:
On Windows, download the latest membrick-windows-x86_64.exe from the releases page. Run it as membrick-windows-x86_64.exe in the commands below.
2. Connect it to your project
Open a terminal in your project folder and run:
This adds Membrick to OpenClaw and installs its memory skill. It preserves your other OpenClaw settings, and it is safe to run again if you need to update the setup.
3. Restart OpenClaw and check the connection
Restart your OpenClaw Gateway so it loads the new settings, then run:
This checks that the Membrick server starts and offers its MCP tools. The membrick-memory skill is separate: it gives OpenClaw instructions for using memory, but does not provide callable tools by itself. OpenClaw must load the enabled membrick MCP server for those tools to appear in a conversation.
Check the connection from OpenClaw as well:
If the server is enabled but the tools are missing from a conversation, first check that OpenClaw's tool rules allow them. In the active conversation, open + → Connectors → Tool access and look for the Membrick tools. OpenClaw's agent profile, allow/deny rules, or sandbox settings can hide tools even when the server is connected. For sandboxed runs, OpenClaw's sandbox tool allowlist must also allow MCP tools.
Membrick provides callable MCP tools, such as membrick__search; it does not currently publish MCP resources. An empty resource catalog is therefore expected and does not mean the Membrick connection failed.
After changing connection or tool settings, reload the MCP connection and start a new conversation:
Start an agent run in the project and ask about a previous decision or outcome. You can also ask the agent to save an important result for later. Membrick's memory tools are available to the agent after setup.
Screens that show setup is ready
The OpenClaw menus can look different between versions. These screenshots show the expected Membrick entries. Open each one to see the full image.
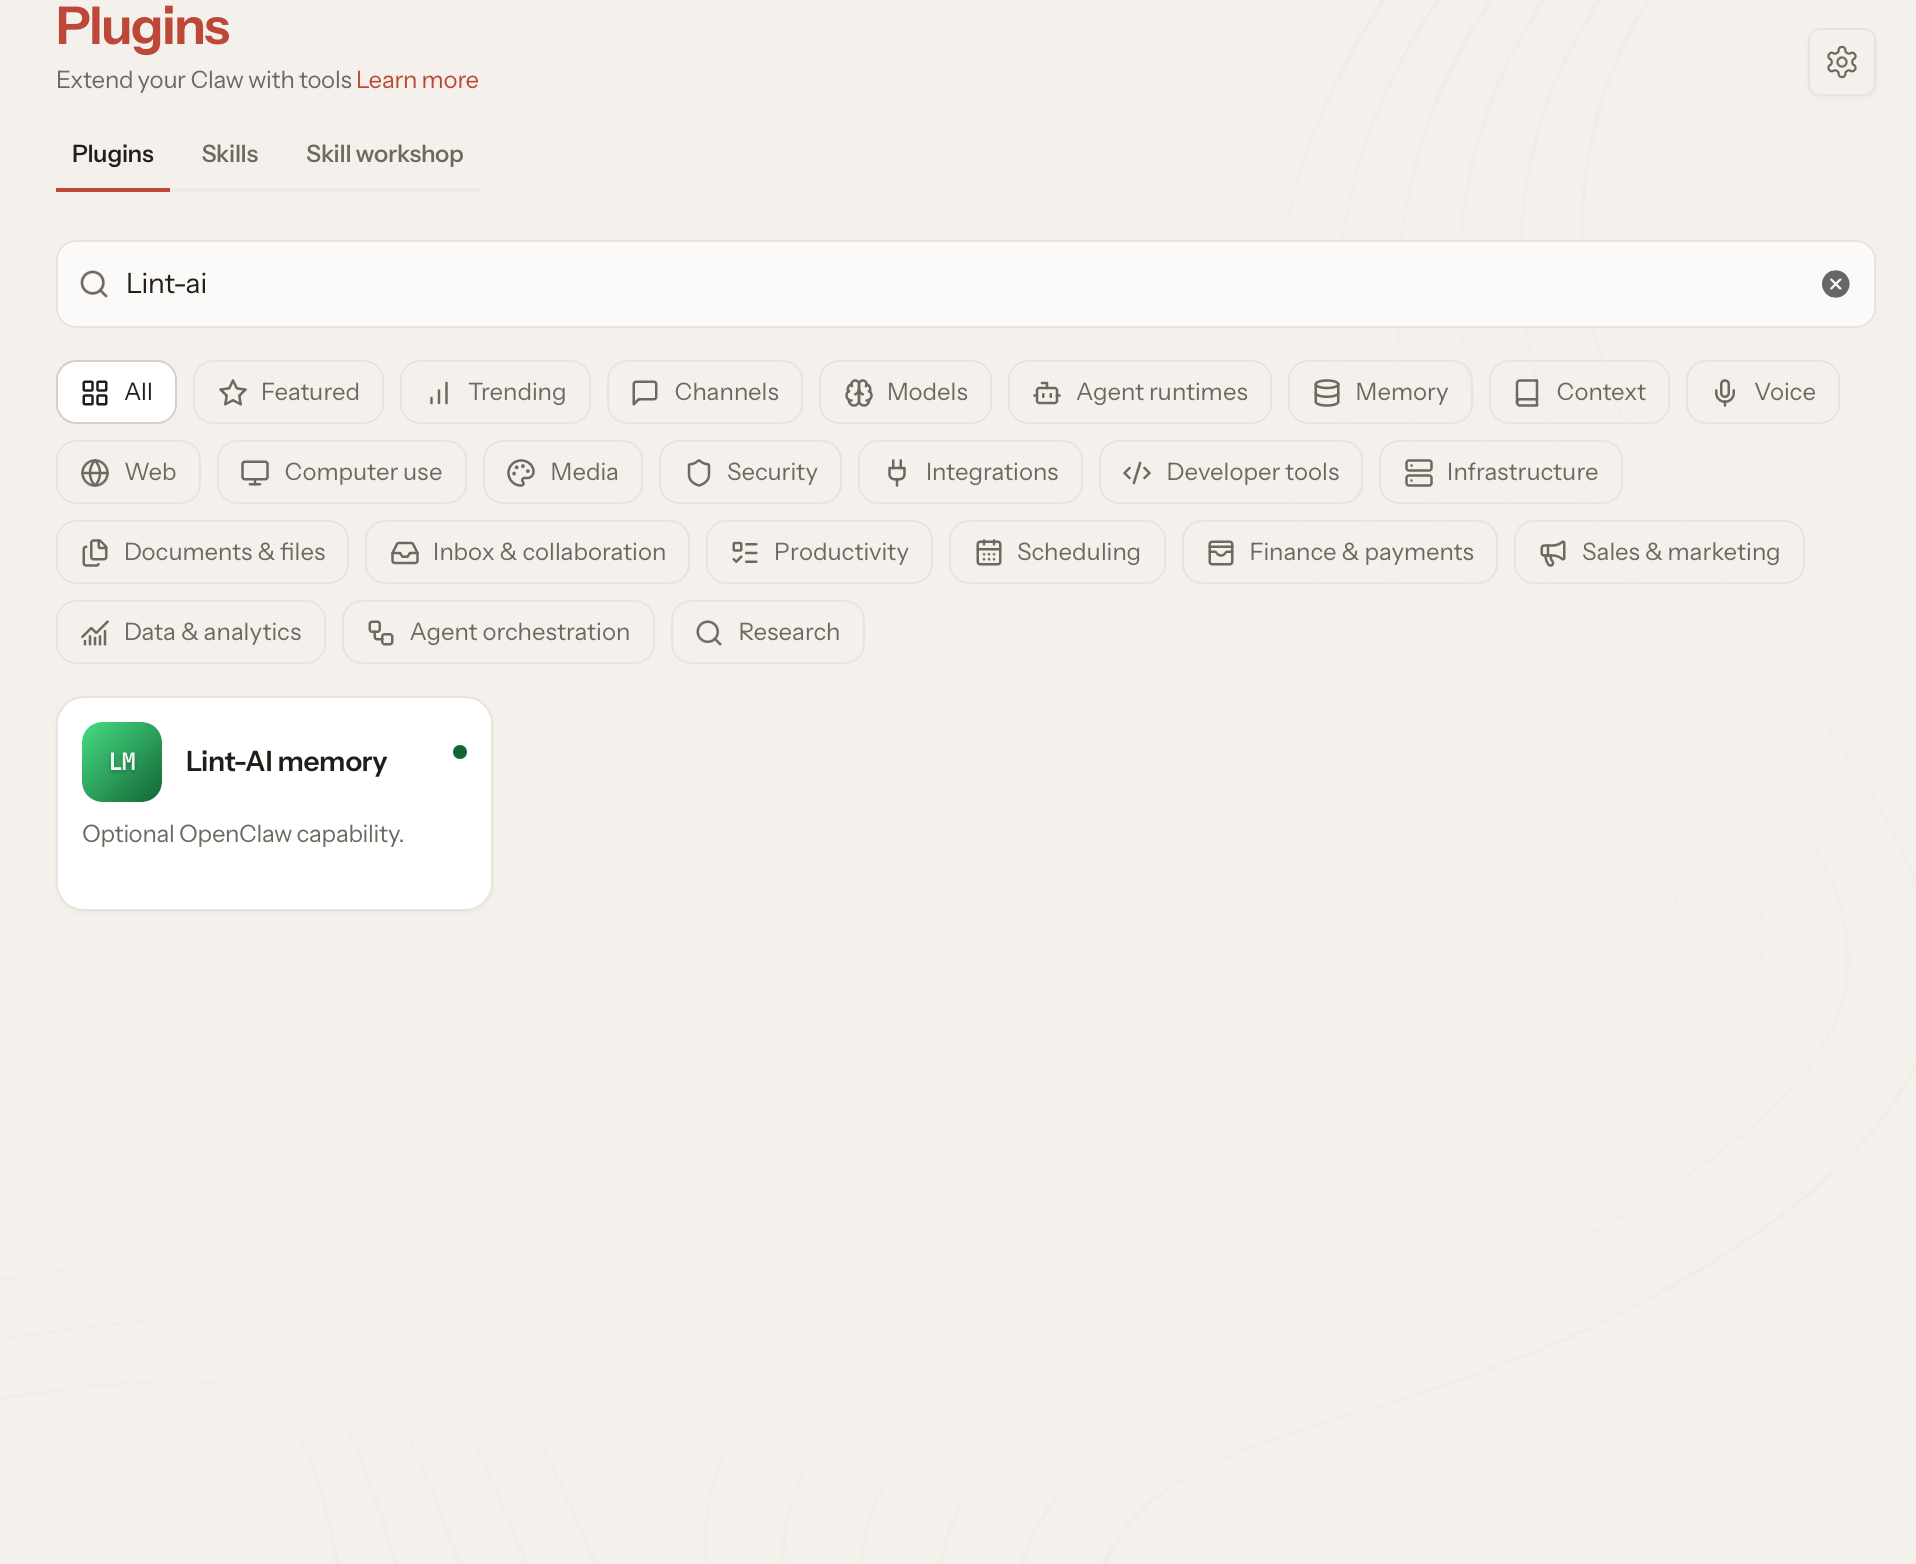
1. Find Membrick memory in the Plugins catalog
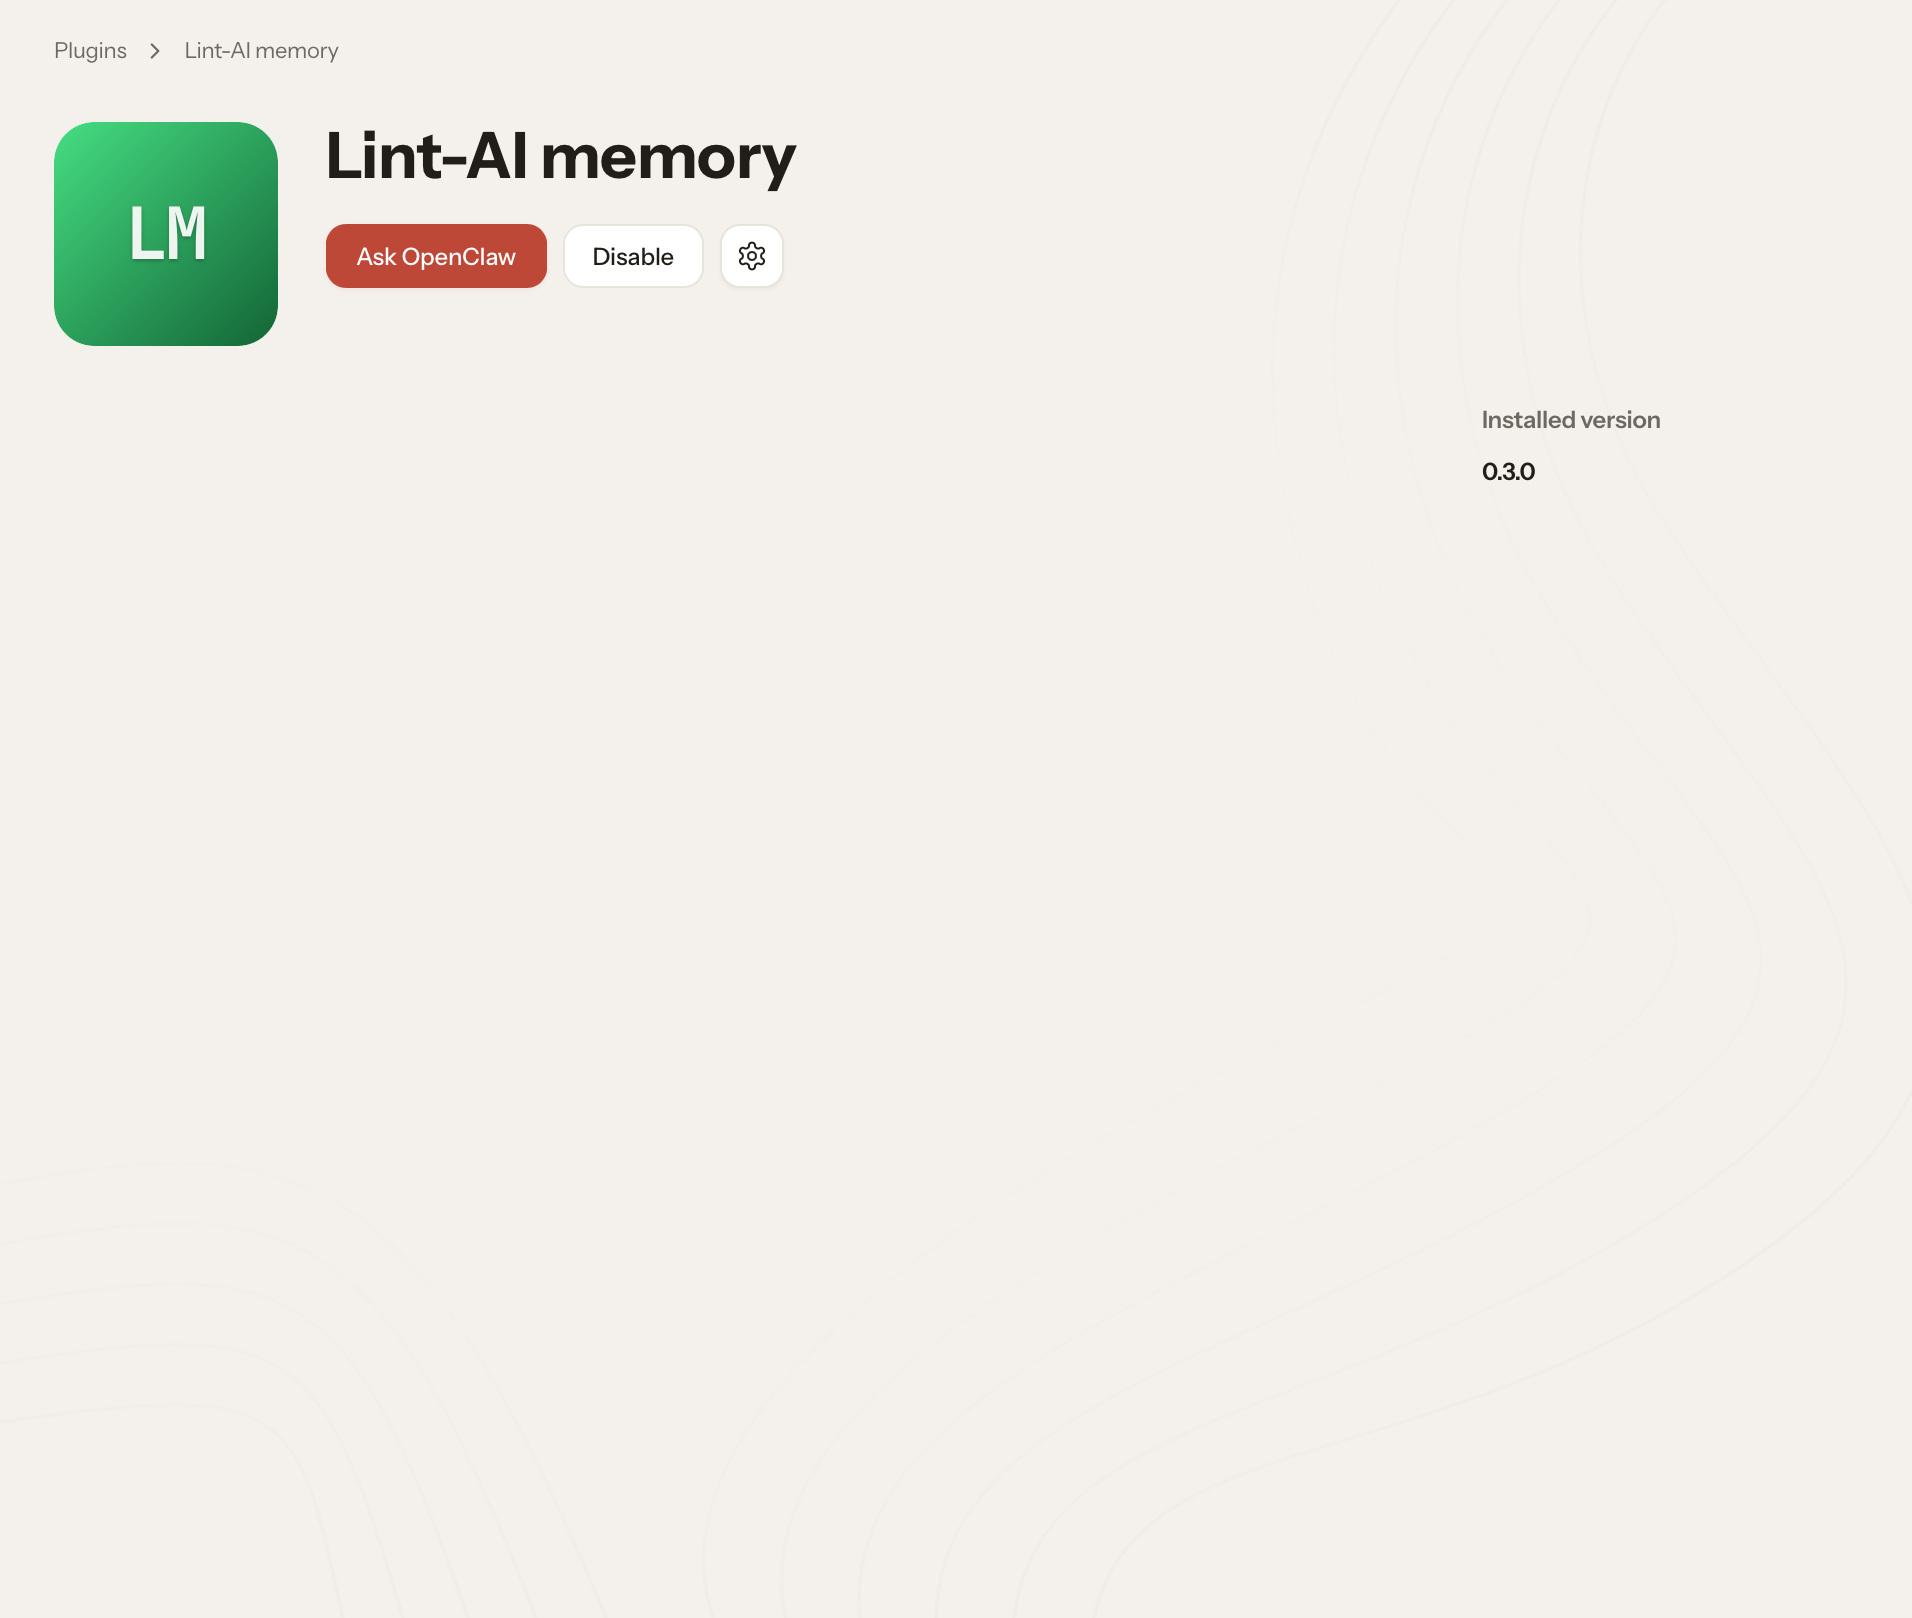
2. Confirm the Membrick plugin is installed
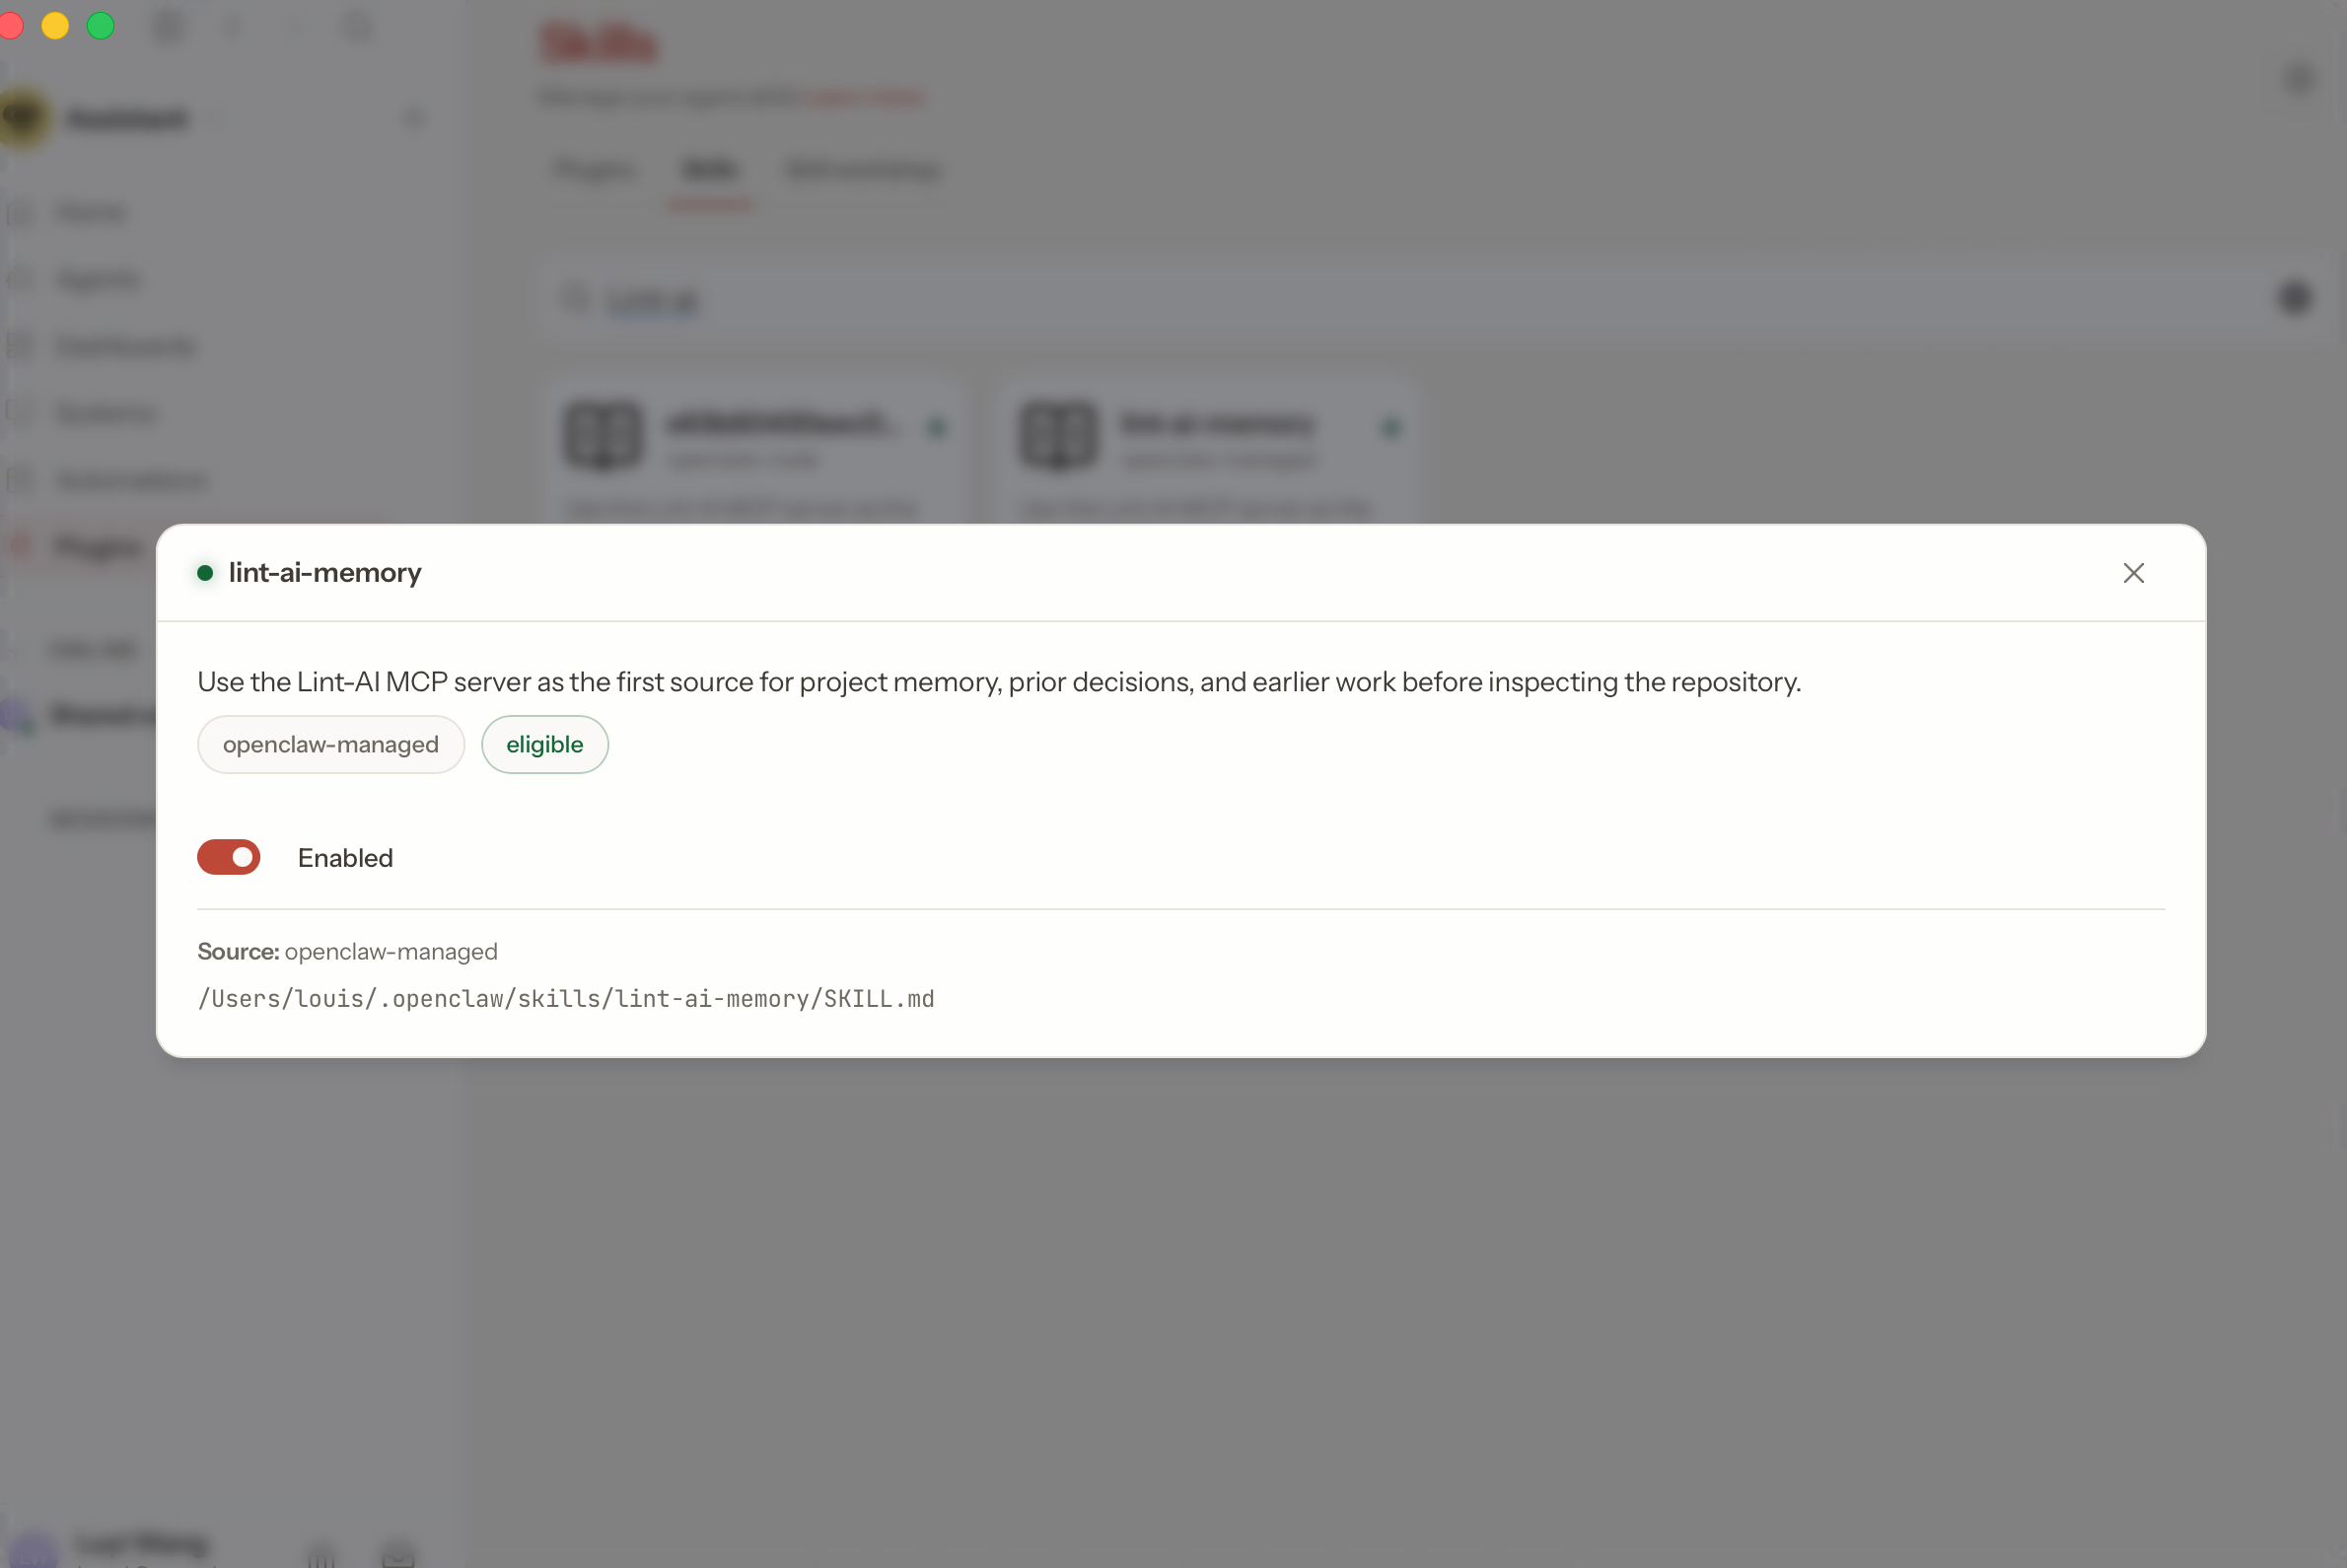
3. Confirm the Membrick memory skill is enabled
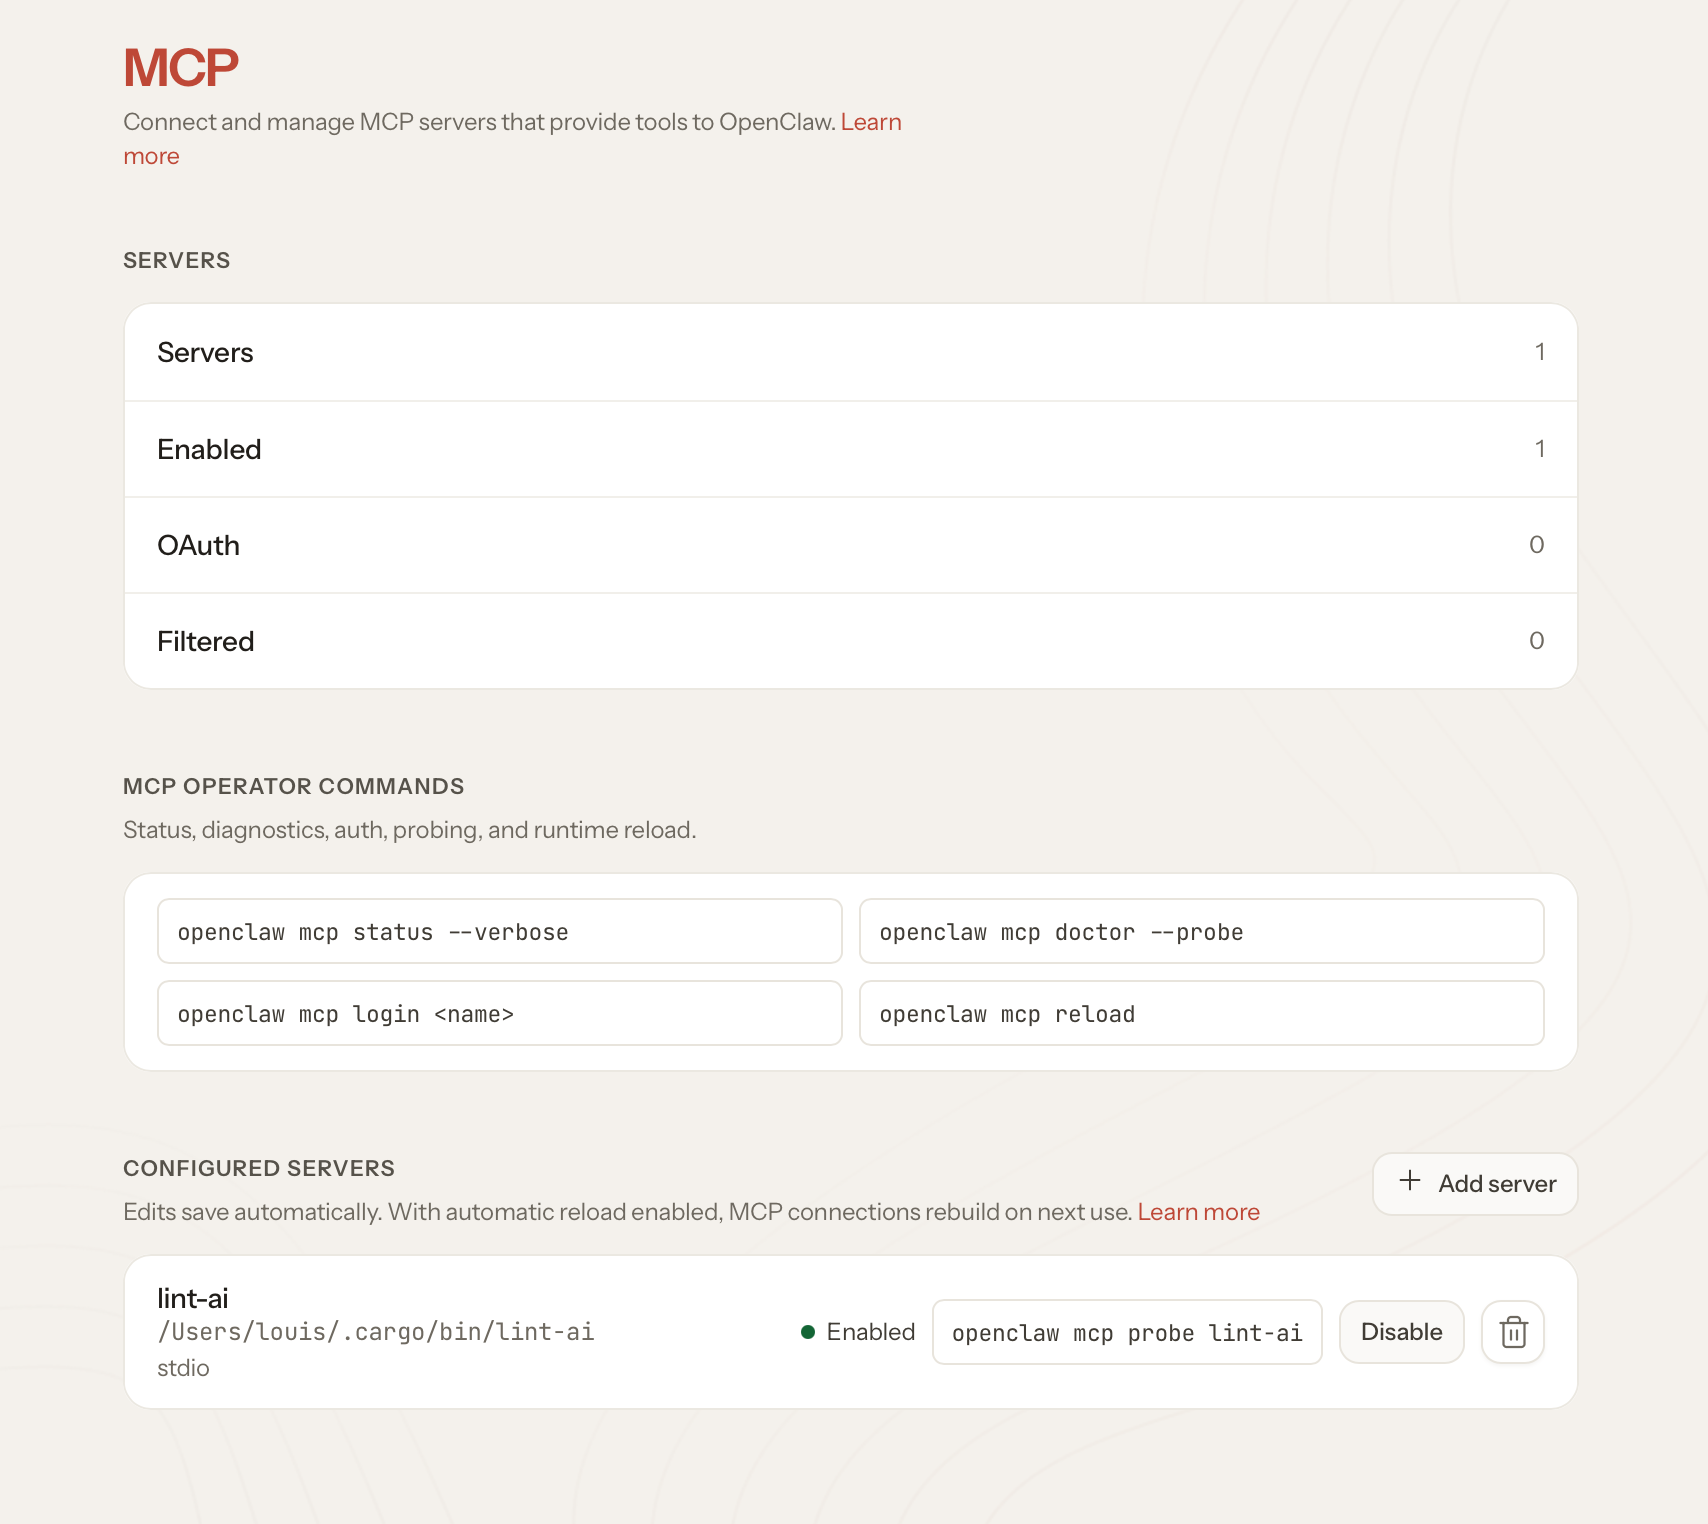
4. Confirm the membrick MCP server is enabled
What setup adds
Membrick adds three things to OpenClaw:
- Memory lookup: relevant project memories can be added when an agent run starts.
- Memory capture: useful outcomes and session summaries can be saved as work finishes.
- Memory tools: the agent can search and manage memories when needed.
These additions work alongside OpenClaw's own notes and memory files. Membrick stores project memories in .membrick/memory/, shared with other connected agents in the same project.
If it does not work
- If the verification command fails, confirm
membrickis installed and on yourPATH, then runmembrick install openclaw .again. - If the agent does not recall memories, make sure the OpenClaw Gateway was restarted after installation and that you started the agent from the project where you installed Membrick.
- If OpenClaw uses a custom state directory, make sure the Gateway and the installer are using the same directory.
For setup with other agents, see Connect your AI agent.